

The (Absolutely Chaotic) Story of Our First Cabin Renovation
Everything that could go wrong? Yeah, it did actually go wrong.

One could say that today’s story should have served as a warning. If anything, it was a brutal initiation into full-time remote cabin life—you know, the kind that “builds character” and “if it doesn’t kill you, makes you stronger.” Now that we’re 5 years past it, I can confirm that I did indeed not die. But if we’re being totally honest, I’m pretty sure part of my soul died.
Here’s the story of our first renovation project.
We moved into the cabin in September 2020, but didn’t do a full makeover of any of the spaces until January 2021. During that gap, we basically focused on making the house habitable: pulling up the murder carpet, beginning the process of removing the pungent cat piss aroma and deep cleaning every week. (See also: What I Wish I’d Known Before Buying *This* Cabin)
When January 2021 rolled around, I was lucky enough to be approached by a brand partner for our first makeover: painting our living room! Not only was this great for my income, it was also our first opportunity to put our stamp on the cabin. The project would set the tone for all the other aesthetic choices, while also massively improving day-to-day life. Fresh paint would be the ultimate “reset button” both visually and olfactorily, something we desperately needed. Yay!
Here’s the thing though: nearly half of our house is open plan—so what started as a living room project evolved into painting the dining room, the upstairs catwalk area, the stair landing, all 9 doors and the book nook. Oh, and I wanted to paint the 15’ tall dining room ceiling to brighten things up.
The project spiraled, as they tend to do when I’m involved. I know you’re absolutely shocked to hear that.
I’m not going to bore you with the specifics, but suffice it to say that I totally belabored my color selections. Again, I’m alarmed if you are surprised by that.
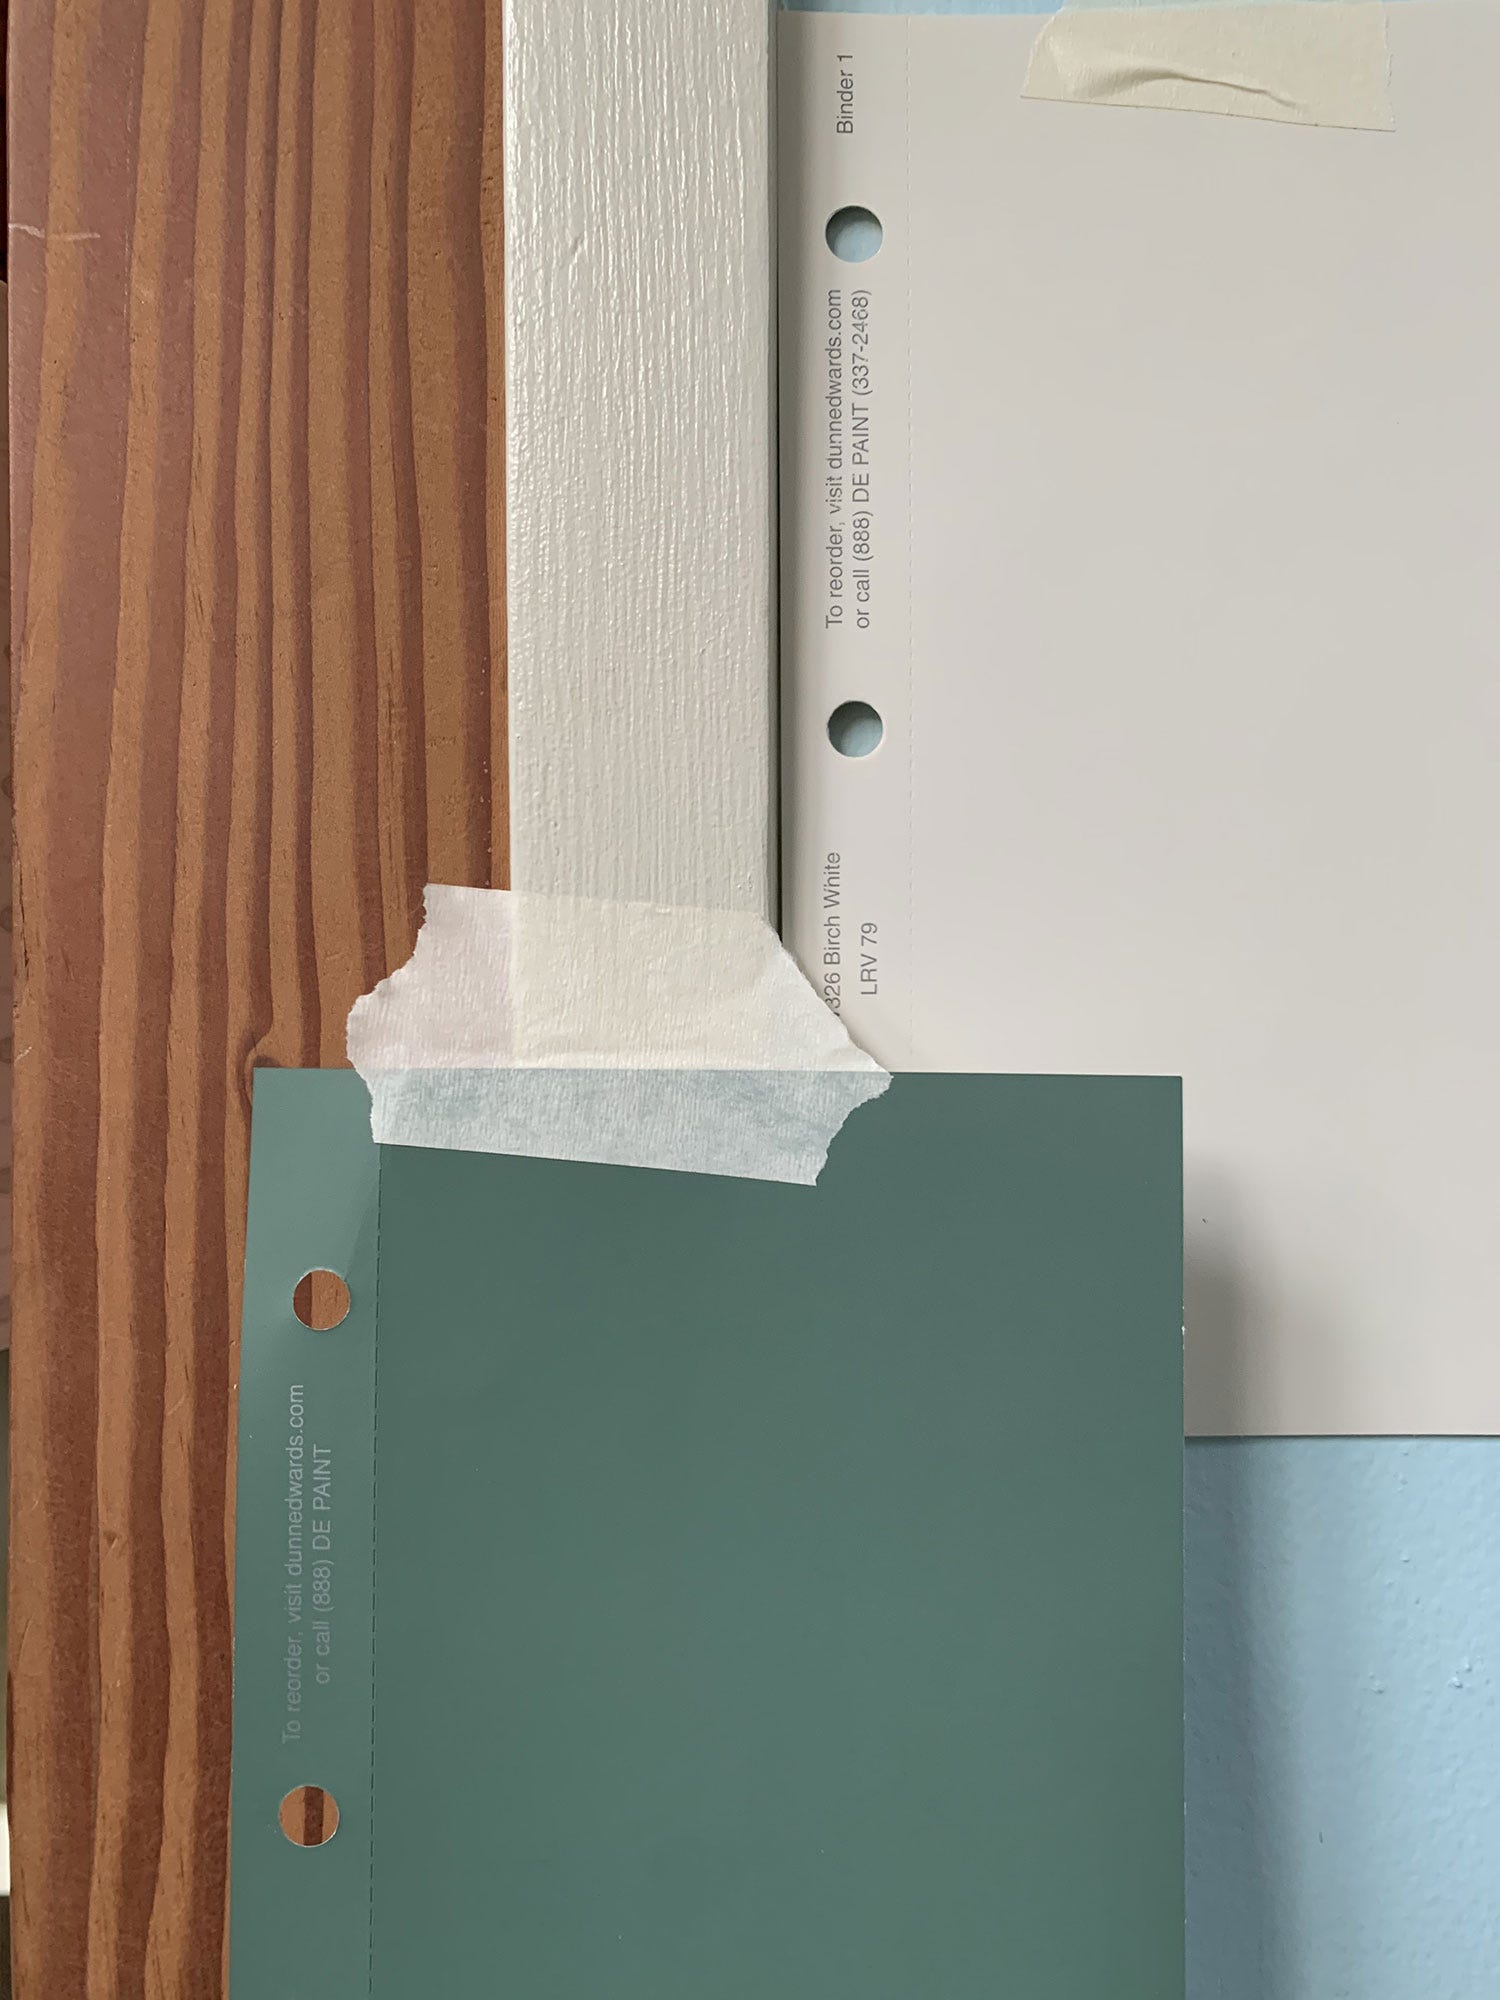
After reviewing approximately 12,496 creamy white and mid-tone green swatches, I committed to Birch White for the walls and ceilings and Ecological for the windows and doors. The creamy white had to be warm enough to feel cozy during the dark, dreary PNW winters, but not too warm lest it look dirty. And the green was The Moment, so it had to be absolutely 100% perfect, no room for error. And no, I did not factor in the color names when making my decision, but also how convenient and perfect!
With those life-altering, irreversible selections made, many gallons of paint arrived on our doorstep and we bought a sprayer that we had no idea how to use.
The first step, though, was prep. SO MUCH PREP.
First, we cleaned and patched holes and sanded and cleaned again and vacuumed again and patched more holes and sanded some more and cleaned yet again. I even cleaned the window casings with Q-tips.


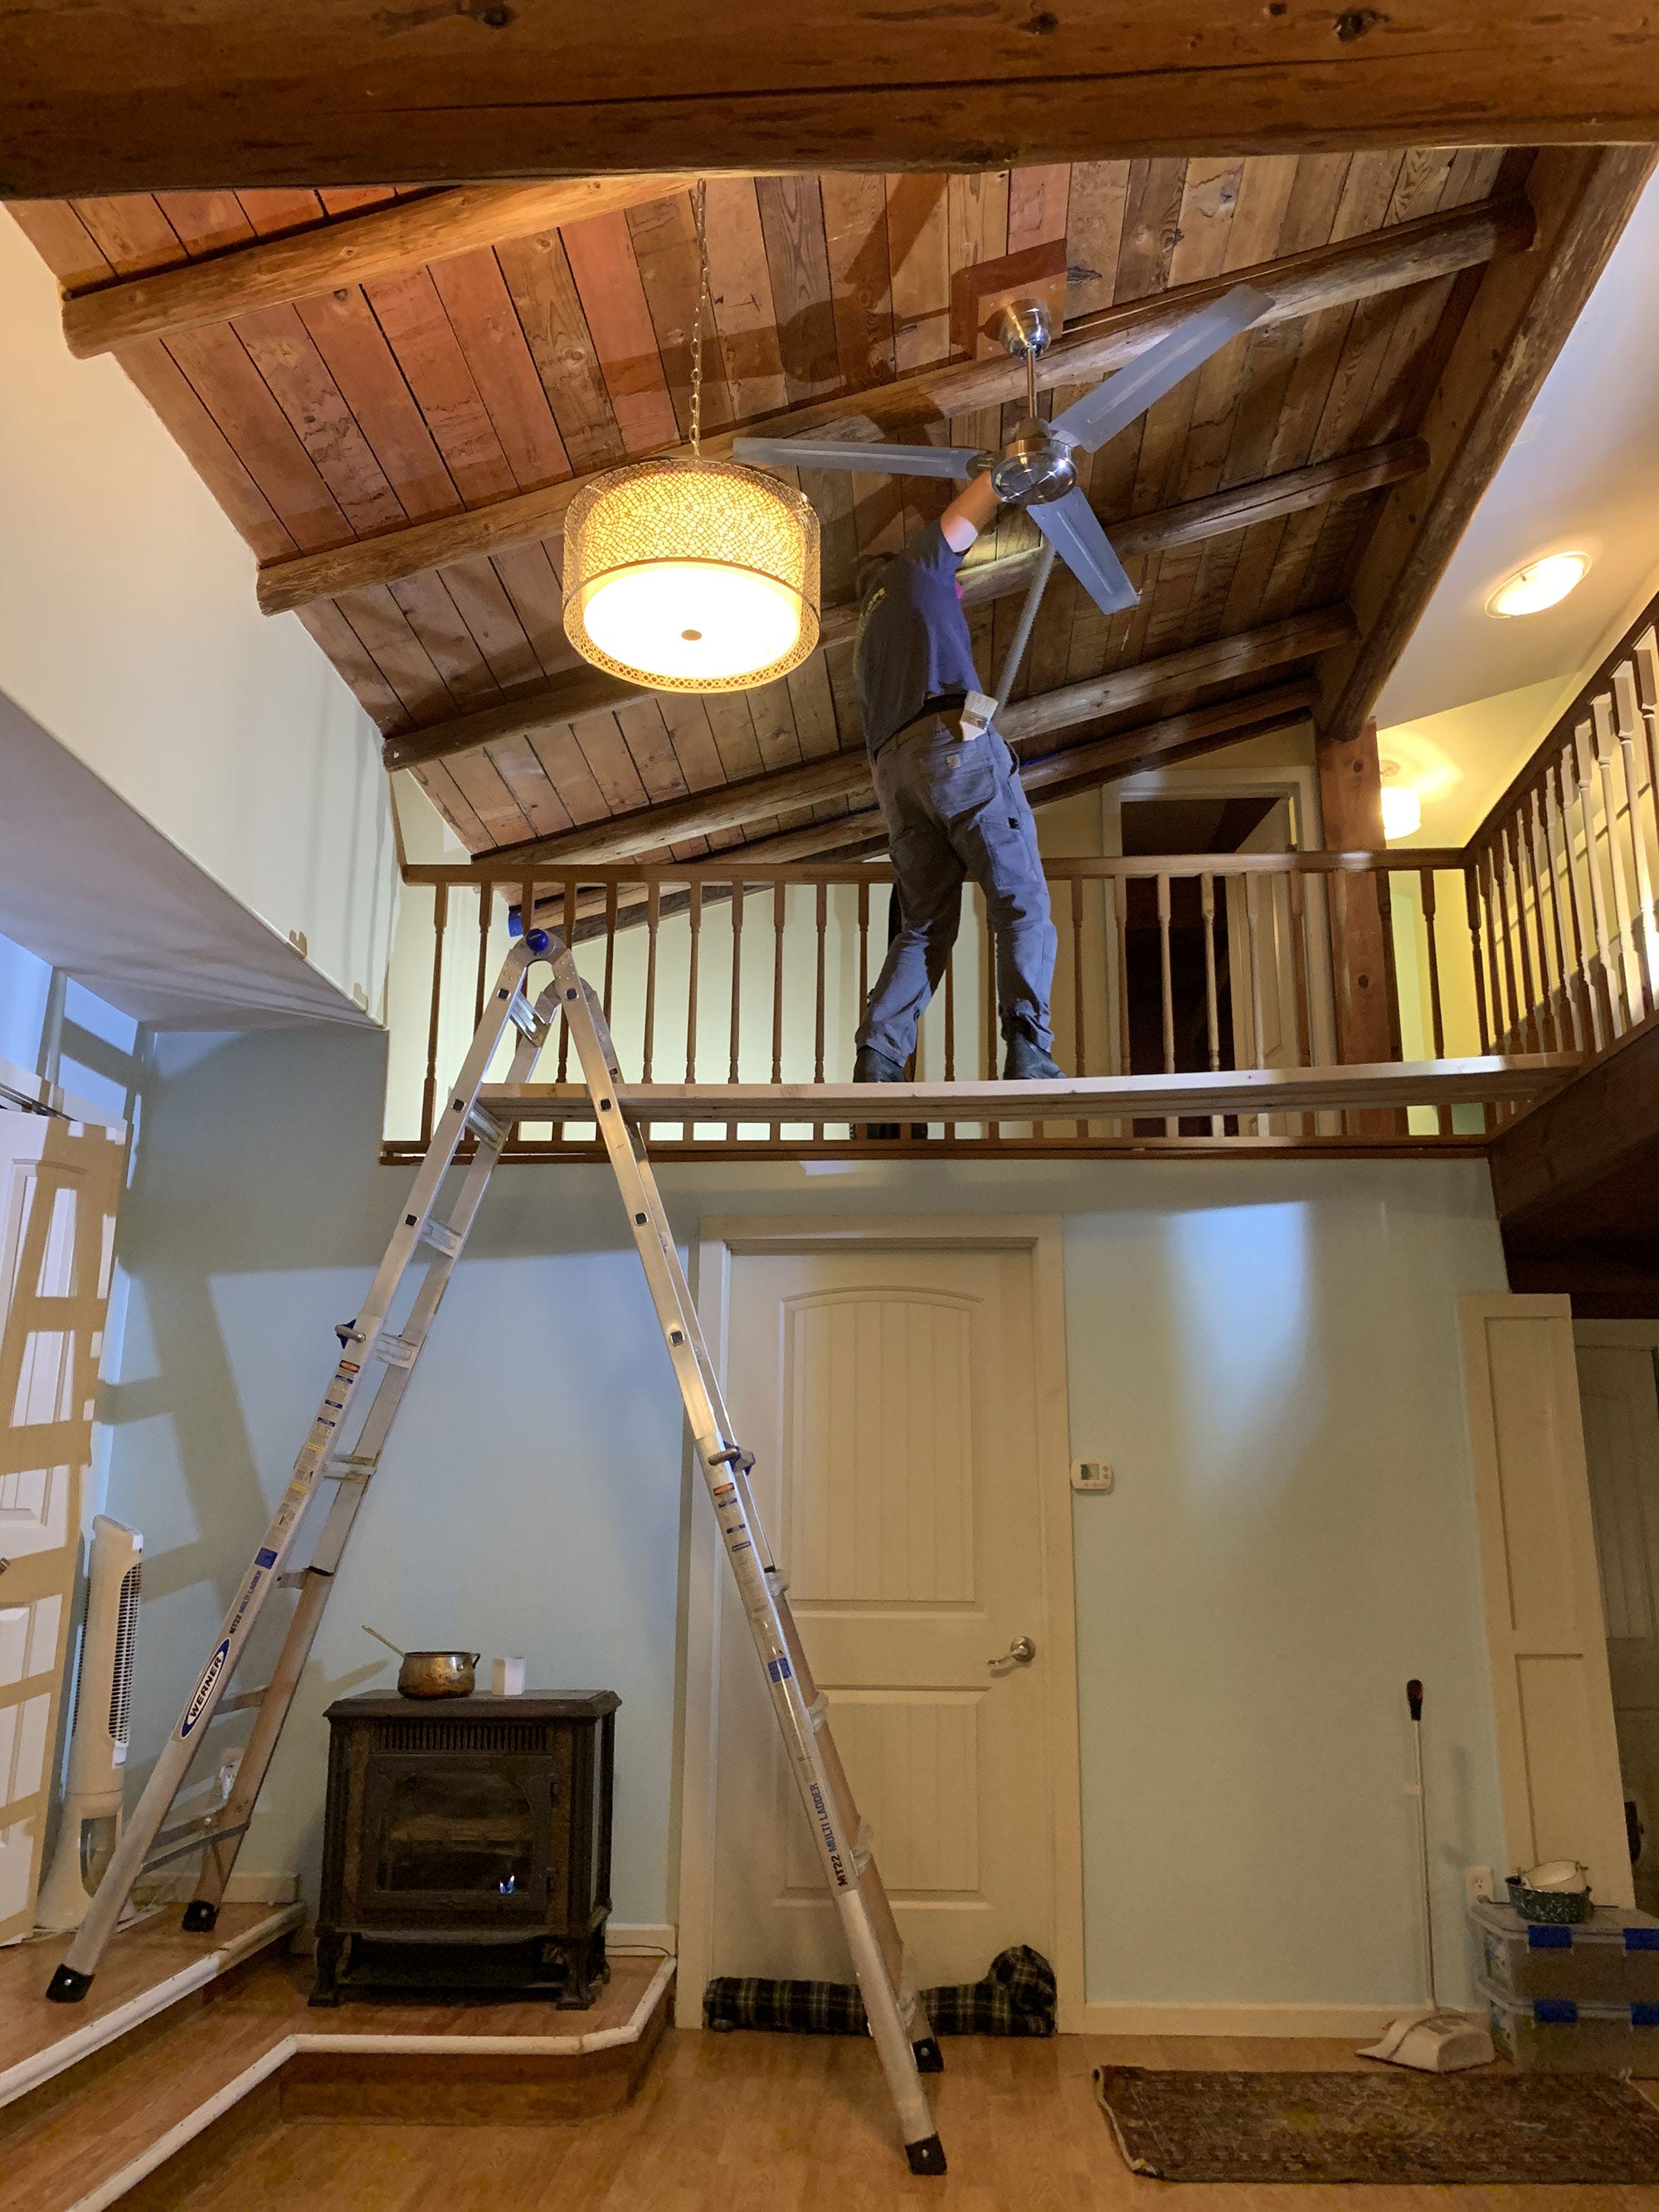
Ever the adventuring spirit, Sean created his own version of scaffolding.
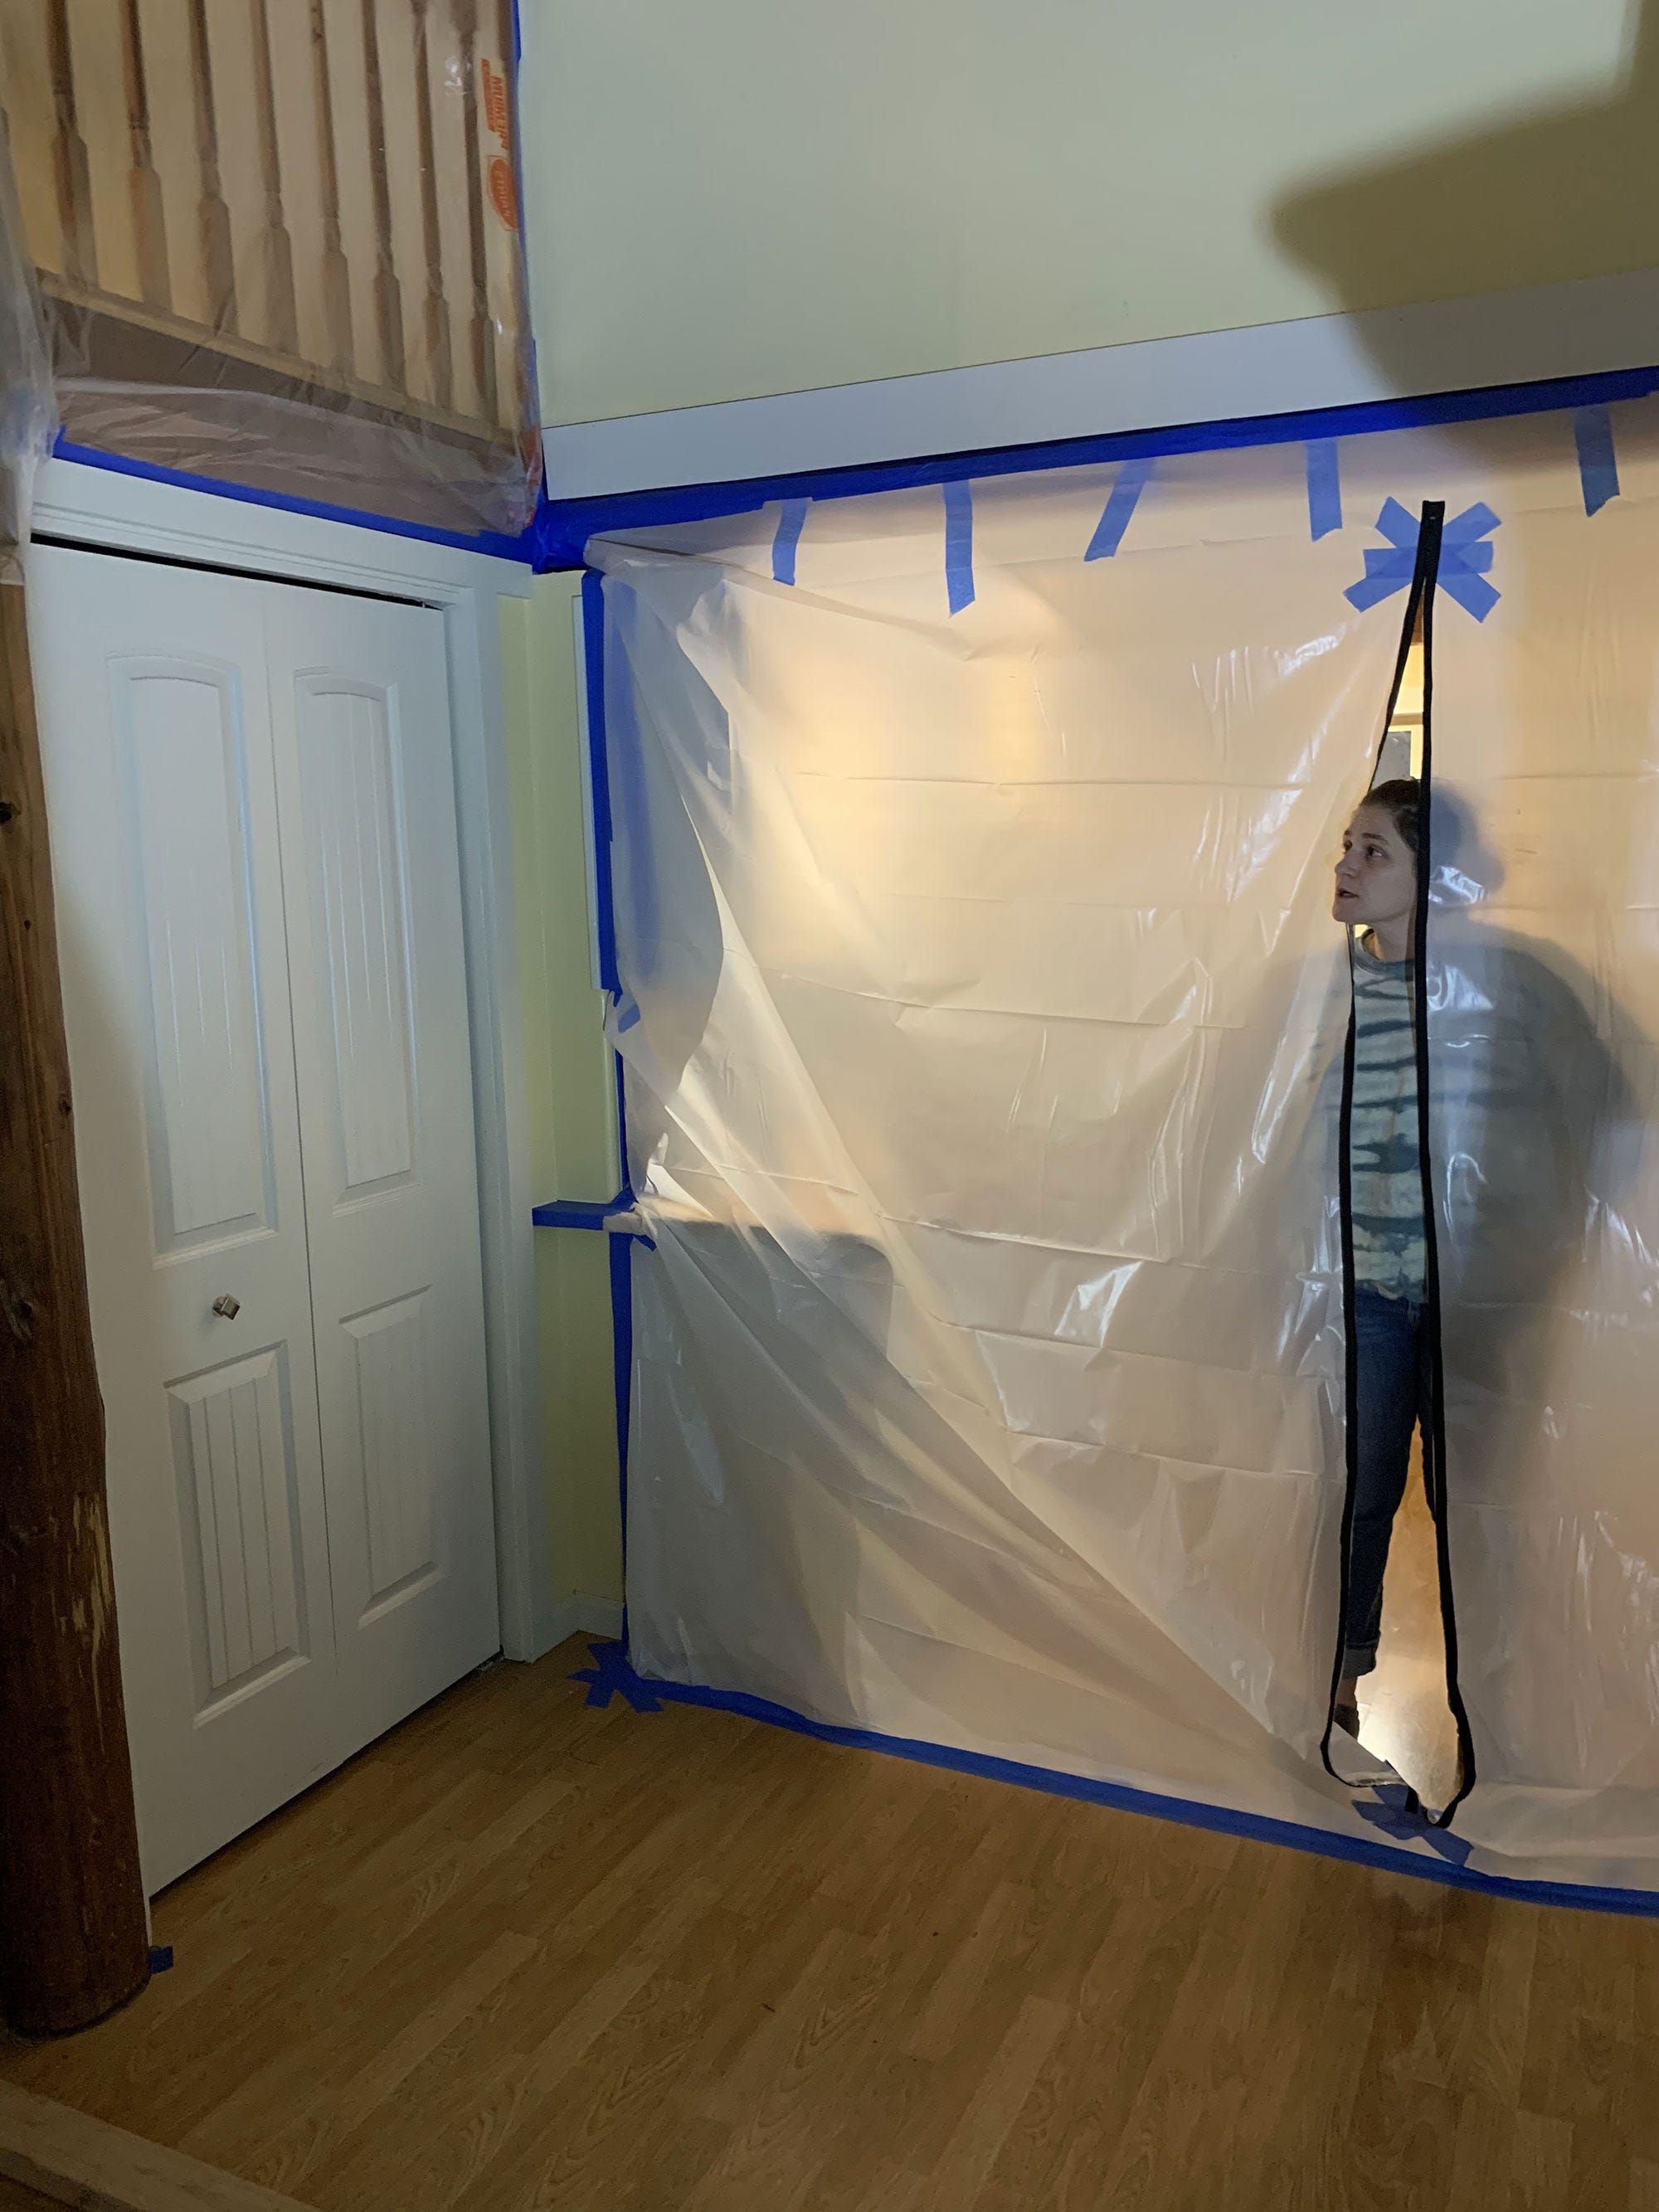
If you’ve never sprayed paint before, what you may not be aware of is the sheer volume of prep needed in order to avoid making a gigantic mess. The key issue is overspray; if we hadn’t completely, utterly sealed off anything we didn’t want to turn Ecological green, then everything would be Ecological green—or at least covered in Ecological green dust.
So we cloaked half the house in yards upon yards of heavy gauge plastic and masking paper, plus enough painters tape to wrap around the earth a few dozen times. As the world’s least patient person, it took an eternity.


At this point, we’d been living in a construction site for about 6 days—and, bless my impatient heart, it was time to finally get some paint sprayed.
We started by spraying Ecological, the green shade, for the windows and doors. We quickly picked up the best (and worst) techniques for spraying, so the green paint was actually pretty easy and fast—especially given what followed.
